Local Setup
You can build components locally on your own Windows, Mac or Linux computer. To do this you will need to use the Circuit Diagram CLI application, and optionally the Visual Studio Code extension.
If you want to use the CLI without VS Code, you only need to complete step 1 below.
If you are using GitPod you don't need to follow these steps as it has already been pre-configured. Skip to the next section.
1. Download the Circuit Diagram CLI
The Circuit Diagram CLI is a utility that can compile components and render them as images.
Supported platforms:
- Windows x64
- macOS
- Linux x64
Download the appropriate version for your platform from the Circuit Diagram downloads page.
Extract the downloaded file. For Linux, follow the additional installation steps.
2. Install Visual Studio Code
Using the Visual Studio Code extension is optional, but makes developing components much easier. It provides syntax checking and rendering of component previews. If you don't want to use it, you can skip to the next section and use any text editor that supports editing XML files.
If you do not already have Visual Studio Code installed, download it from https://code.visualstudio.com/.
3. Download the Circuit Diagram Extension
The extension is not yet available in the Visual Studio gallery.
Download the VSIX file from Circuit Diagram Downloads or from GitHub.
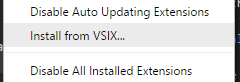
4. Install the Extension
The extension cannot be installed by double clicking on the VSIX file.
In Visual Studio code, open on the extensions tab. Click on the More menu and then Install from VSIX....
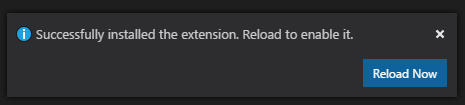
Click Reload Now in the message that appears.
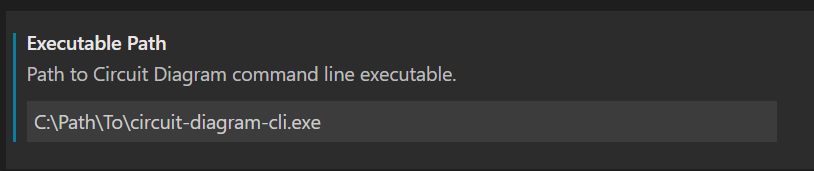
5. Configure the Extension Settings
In VS Code, go to File -> Preferences -> Settings. Under Extensions, open
the Circuit Diagram section and enter the path to the CLI executable file
extracted in step 1.
For example: